If you’ve ever tried to make peanut chikki at home, you know one thing – getting that perfect crunch is an art. Sometimes it turns sticky, sometimes too hard, and sometimes it just loses the bite the next day.
But don’t worry, brother – today, we’re breaking down exactly how to make peanut chikki that stays crispy and fresh for days, straight from the insights we use at Rudra’s Peanut Chikki Factory.
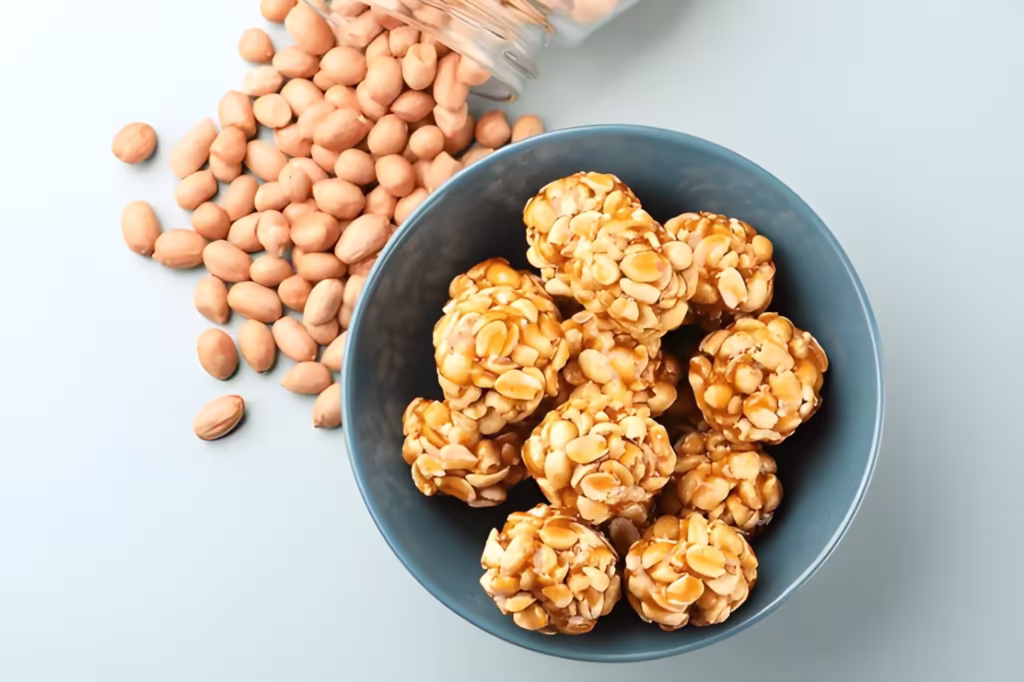
What Makes the Perfect Peanut Chikki?
The secret is simple – it’s all about balance. The right jaggery temperature, the right peanut roast, and the right timing when you mix them.
Before we go deep into how to make peanut chikki, it helps to understand the snack itself. Peanut chikki is not just about a recipe — it’s about the balance between roasted peanuts and jaggery, the right temperature, and the role it plays as a traditional everyday food rather than just a sweet.
Many people focus only on the method, but understanding what peanut chikki is, why these ingredients are used together, how it is traditionally prepared, and how it fits into daily eating makes the recipe easier to get right. We’ve explained this foundation clearly in our detailed guide on what peanut chikki is, which covers the basics before diving into techniques.
Peanut Chikki Recipe (Step-by-Step Guide)
Let’s jump right into the peanut chikki recipe that gives you that golden, crunchy perfection.
Ingredients You’ll Need

- 1 cup roasted peanuts
- ¾ cup jaggery (preferably dark, organic jaggery)
- 1 tsp ghee (for greasing)
- A pinch of cardamom (optional)
Step 1: Roast the Peanuts Right
Take raw peanuts and roast them until golden. Let them cool and remove the skin. Split them into halves. The aroma here sets the base of your peanut chikki homemade taste.
Step 2: Prepare the Jaggery Syrup
In a heavy pan, melt jaggery with one tablespoon of water. Keep stirring on low heat until it starts bubbling.
Here’s a small trick from our side – drop a little syrup into water. If it hardens instantly and breaks with a snap, it’s ready.
That’s the magic stage every peanut chikki making process depends on.
Step 3: Mix and Spread
Now, quickly mix your roasted peanuts into the hot jaggery. Stir fast – both should coat evenly.
Grease a flat surface with ghee, pour the mixture, and roll it thin while still warm.
Cut into pieces before it hardens. Congratulations! You just learned how to make peanut chikki the right way.
How to Keep Peanut Chikki Crunchy for Days
Even the best peanut chikki recipe with jaggery can go soft if stored wrong.
Here’s how we keep ours crisp at Rudra’s:
- Let the chikki cool completely before storing.
- Store in an airtight jar (a glass jar works best).
- Avoid keeping it near moisture or heat.
- Add a sheet of butter paper between layers if storing in bulk.
That’s how your peanut chikki can stay crunchy and fresh for up to 15 days — naturally, without preservatives.
Quick Peek: Peanut Chikki Benefits
Peanut chikki isn’t just a sweet; it’s a power-packed blend of taste and nutrition that fits perfectly into a busy day.
- Protein-packed: Peanuts are rich in plant-based protein that supports muscle recovery and keeps you full for longer.
- Rich in Iron & Minerals: The jaggery in chikki helps boost hemoglobin levels, aids digestion, and naturally detoxifies the body.
- Steady Energy Source: A small piece gives a healthy energy lift – great for post-workout snacking or mid-day hunger.
- Heart & Bone Health: The natural fats in peanuts help maintain heart health, while magnesium supports stronger bones.
That’s why so many people call it the simplest healthy sweet India ever made.
If you want to explore deeper details about peanut chikki benefits, read our next blog – “Peanut Chikki Benefits You Should Know.”
💬 Frequently Asked Questions (FAQ)
Final Crunch
So, now you know how to make peanut chikki that stays crunchy for days – no tricks, no chemicals, just skill and timing.
If you’re craving the real taste and want it fresh straight from the source, try our Rudra’s Peanut Chikki Jar, made with the same traditional touch you just learned about.
Sweet, simple, and satisfying – that’s how Rudra’s likes it.